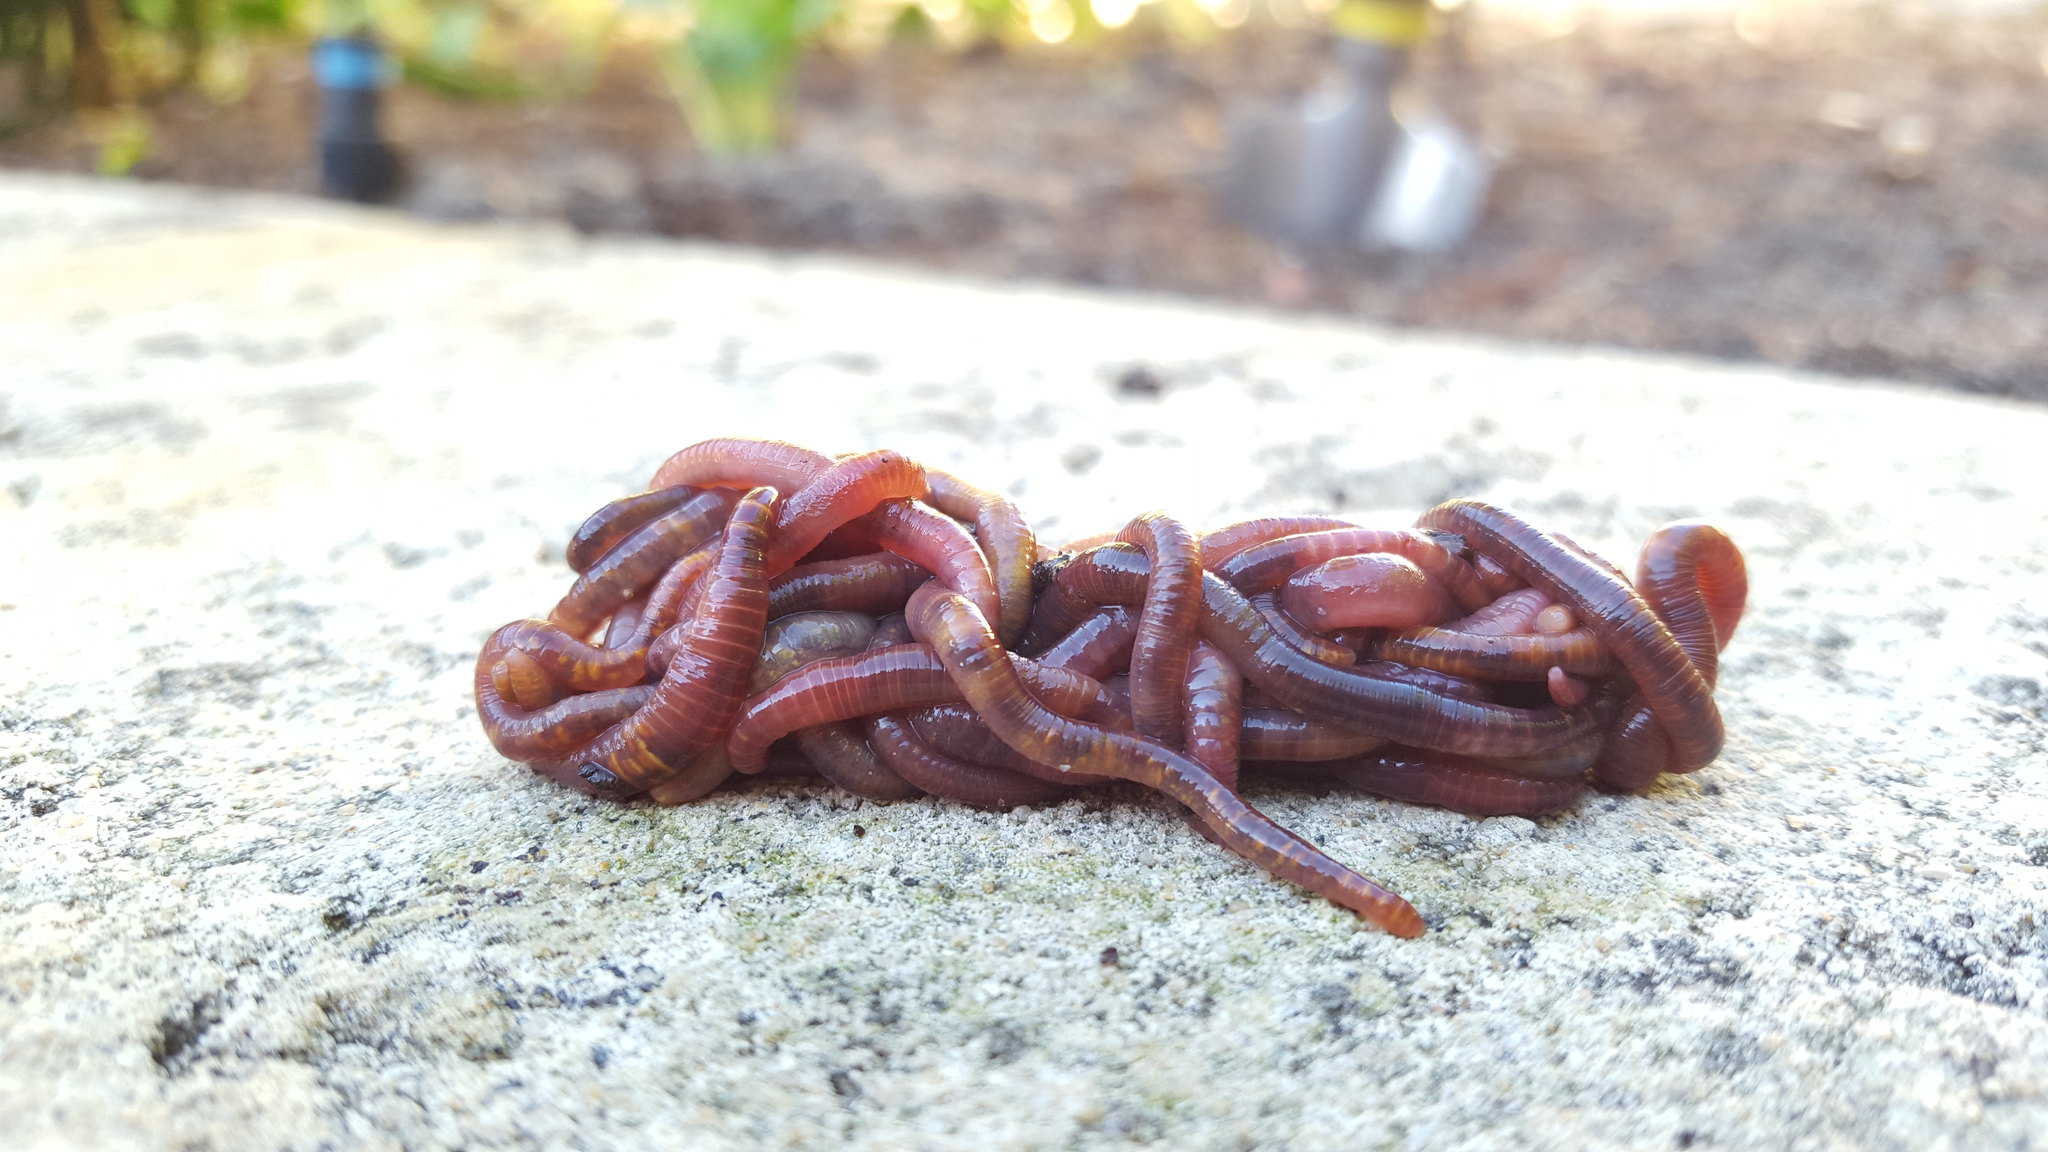
Vermicomposting in Winter: How to Keep Your Worm Bin Alive When It Gets Cold
Every fall, worm bin owners in cold climates face the same question: what do I do with my bin when it gets cold? The concern is legitimate. Red wigglers slow down dramatically below 55 degrees Fahrenheit and can die if temperatures drop below 40 degrees for an extended period. An outdoor bin in a Minnesota January will not survive without intervention.
The solutions are simpler than most people expect.
What Cold Actually Does to Red Wigglers
Red wigglers are cold-blooded, which means their metabolic rate tracks environmental temperature directly. As temperature drops:
At 65 to 77 degrees Fahrenheit, they are at peak activity, eating voraciously and reproducing quickly.
At 55 to 65 degrees, they continue working but at reduced speed. Processing time slows, reproduction slows, but the bin remains functional.
At 40 to 55 degrees, activity drops significantly. Worms move slowly, eat very little, and reproduction essentially stops. The bin is alive but barely productive.
Below 40 degrees, red wigglers become dormant and will die if temperatures stay there.
Above 85 degrees, they become stressed and try to escape the bin. Very high temperatures can kill them as quickly as very low temperatures.
Winter management is about keeping the bin in the productive range (55 to 77 degrees) by moving it to a protected location and, if needed, supplementing heat.
The Basement Solution (Easiest for Most People)
If you have a basement, moving the worm bin indoors for winter is the simplest solution and requires no special equipment. Most basements in cold climates maintain temperatures between 55 and 65 degrees throughout winter, which keeps the bin functional even if not at peak productivity.
Concerns about basement odor are usually unfounded for a healthy bin. A well-managed worm bin should not smell. If yours does, address the smell problem first, then feel confident moving it indoors.
A bin in the basement will process food more slowly in winter than in summer. Feed accordingly. Reduce feeding frequency to once per week or even every ten days during the coldest months and resume normal frequency as temperatures warm in spring.
Garage and Shed Storage
An unheated garage or shed in most cold climates will not keep worms alive through winter without some insulation or supplemental heat. However, a few practical modifications can get a garage bin through winters where temperatures rarely drop below 20 degrees Fahrenheit outside.
Insulating the bin: Wrap the bin in old sleeping bags, blankets, or foam insulation panels. An insulated bin in a garage that stays above 20 degrees outside will often stay above 40 degrees inside, which is the survival threshold for red wigglers even if not ideal.
Adding a small amount of supplemental heat: A seedling heat mat placed under the bin can maintain a 10 to 15 degree temperature differential above ambient. This is often enough to keep a well-insulated bin in the functional range through moderate winters.
Mass insulation: A larger bin holds temperature better than a small one. Adding extra bedding in fall, making the overall mass of material greater, helps maintain temperature through cold nights.
Outdoor Bins in Mild Winter Climates
If you are in a climate where outdoor winter temperatures rarely drop below 40 degrees (USDA zones 8 and above), an outdoor worm bin can survive with minimal intervention.
Insulate the bin with straw bales placed around the sides and on top. Straw is an excellent insulator and inexpensive to source from feed stores. A thick layer of shredded leaves or straw on top of the bin material also provides insulation from the top down.
Avoid placing outdoor bins in low spots where cold air pools. Elevated positions and areas near a south-facing wall that absorbs heat during the day fare better through cold nights.
Starting an Indoor Bin in Winter
If you are starting a new worm bin in winter for the first time, begin it indoors where temperature can be controlled. A new bin with a small worm population is more vulnerable to temperature extremes than an established bin with a large population that generates some heat through biological activity.
Set up your first bin in a basement, a utility room, or under a kitchen sink where temperatures stay above 55 degrees, and allow the population to establish through winter. By spring, you will have a robust bin ready to move outdoors or increase in scale.
Feeding Adjustments for Winter
In cold conditions, worm metabolism slows and food takes longer to process. Overfeeding a winter bin creates exactly the odor and pest problems you want to avoid.
Cut feeding frequency by roughly half compared to your summer schedule. A bin that received fresh food twice a week in summer should receive it once a week or slightly less in winter. Check that the previous feeding has been processed before adding more. Cold-season patience here prevents spring problems.
Signs the Bin Is Too Cold
Worms that are too cold will cluster together in the center of the bin, where the combined body heat of many worms provides slightly warmer conditions. If you open the bin and find a large cluster of worms in the center of the material with little activity elsewhere, the bin is too cold and needs to be moved or insulated.
Worms that have died from cold will be visible as pale, limp bodies on the surface of the material. A small number of dead worms in any bin is normal. Large quantities concentrated near the walls and corners, away from the center mass, suggests cold damage at the edges of the bin.
Spring Restart After a Cold Winter
If you kept the bin at marginal temperatures through winter and activity seems low in early spring, give the bin two to three weeks at temperatures above 60 degrees before making any judgments about whether the population survived. Worms emerge slowly from cold dormancy and may not show normal feeding activity for several weeks after temperatures warm.
Resume feeding gradually, starting with small amounts every five to seven days, and increase frequency as activity picks up.
If the bin does not show signs of recovery after three weeks at temperatures above 60 degrees, the population may not have survived. Check by gently digging through the material. If you find no live worms, the bin needs a fresh start with new worms.
Recommended Equipment for Winter Worm Keeping
Seedling heat mat for worm bins is the most cost-effective way to add supplemental heat to a garage or shed bin. Place under the bin, not inside it.
Digital min-max thermometer records the lowest and highest temperature reached since the last reset. This is the most useful tool for confirming that your winter storage conditions are adequate without checking the bin constantly.
Bale of straw for insulation or locally from feed and farm stores. Surround outdoor bins or garage bins to dramatically reduce heat loss on cold nights.
The worms you have invested in building up through the active season are worth protecting through winter. The effort required is genuinely minimal: move the bin somewhere appropriate, reduce feeding, add insulation if needed. The reward is a mature, high-population bin ready to perform at full capacity the moment spring temperatures arrive.
For related information, see our vermicomposting beginners guide and what to feed your worms.
— Last updated: June 2026.