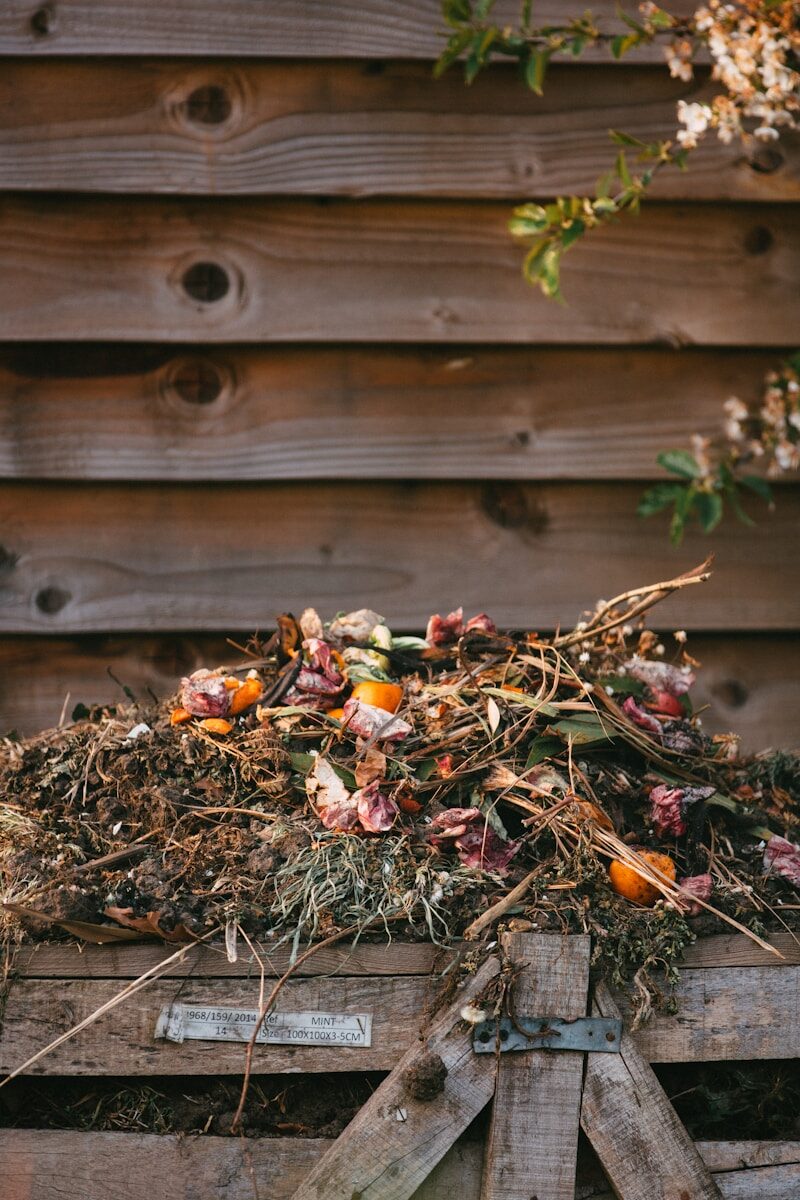
DIY Compost Bin Plans: 3 Designs from Quick and Cheap to Heavy-Duty
Buying a compost bin is easy. The problem with most purchased compost bins is that they are too small to hot-compost effectively, too awkward to turn, and too expensive for what they provide. A functional outdoor compost system costs almost nothing to build and works better than almost anything you can buy.
These three designs range from the simplest possible (a wire cylinder assembled in ten minutes) to a serious three-bin turning system that produces finished compost on a continuous cycle. All three use basic materials and basic tools.
Design 1: Wire Cylinder (Fastest, Cheapest, Works Well for Small Yards)
A circular wire bin holds compostable material in a compact footprint and allows air to circulate from all sides. It is the simplest effective compost structure available and costs $10 to $20 to build.
Materials:
- 10 feet of hardware cloth, welded wire, or galvanized fencing in 3 to 4-foot height
- 4 metal stakes or wooden stakes for support
- Wire or zip ties for joining the ends
Assembly:
Form the wire into a circle approximately 3 feet in diameter. Join the ends with wire ties or zip ties at the top, middle, and bottom. Drive stakes into the ground around the outside to keep the cylinder upright and stable.
To turn the pile, lift the cylinder off the material, move it to an adjacent spot, and fork the material back into the new position.
Capacity: A 3-foot diameter cylinder holds approximately 20 cubic feet of material, which is enough for a household of 2 to 4 people generating kitchen scraps and garden waste.
Best for: Small yards, apartment and condo properties with limited outdoor space, beginners testing whether composting fits their routine before investing in a more substantial system.
Limitation: Turning requires removing the cylinder each time, which is slightly awkward. The pile does not heat as well as an enclosed system because air circulation is high and heat escapes more easily in cold weather.
Design 2: Pallet Bin (1 to 2 Hours, Nearly Free, Surprisingly Effective)
Wooden pallets are often free from grocery stores, garden centers, and hardware stores and make excellent compost bin walls. Four pallets form a three-sided enclosure with a removable front for access.
Materials:
- 3 wooden pallets of similar size (4×4 feet is standard)
- 4 lengths of rebar or 4×4 posts, 18 to 24 inches long
- Wire or zip ties to join the pallets at the corners
- Optional: hardware cloth to line the inside of the pallets if gaps are wide
Assembly:
Stand three pallets in a U-shape with one pallet on each side and one at the back. Drive rebar or short posts into the ground at each inside corner, against the pallet uprights. This keeps the pallets from leaning or spreading under the weight of the pile.
Wire or zip-tie the back corners together for rigidity.
The fourth pallet can lean against the open front as a removable door, or the front can remain open for easy turning access.
Capacity: A standard 4×4-foot pallet bin holds 64 cubic feet when filled to the top, far more than a typical wire cylinder and adequate for serious household and garden waste composting.
Best for: Homesteaders with livestock and garden waste who need high capacity at low cost. Excellent for chicken coop cleanout material.
Limitation: Pallet quality varies. Pallets marked HT (heat treated) are safe for garden use. Pallets marked MB (methyl bromide treated) or with chemical stains should not be used for compost bins near food gardens. Always look for the HT marking.
Building a two-pallet system: Two pallets set at 90 degrees in a corner form a two-sided bin that uses adjacent structures (a fence, a shed wall) as the other two sides. This is the minimum viable compost enclosure.
Building a three-pallet two-bin system: Six pallets arranged in two adjacent U-shapes share a common center wall. This allows you to fork material from the active pile (Bin 1) into the curing pile (Bin 2) with minimal handling. The most practical entry-level composting system for a homestead.
Design 3: Framed Three-Bin System (Weekend Project, Maximum Function)
A built three-bin composting system with framed lumber walls, removable front boards, and optional hardware cloth is the most functional permanent compost setup for a serious homestead.
Why three bins: Active composting, resting and curing, and finished-ready all occupy different stages simultaneously in a continuous composting operation. Three bins let you add to the active pile continuously while a second pile rests, and a third holds finished compost ready to use. This is how you produce finished compost throughout the growing season rather than waiting for a single batch.
Dimensions: Each bin is 3 feet wide by 3 feet deep by 3 feet tall. Three bins side by side produce a structure 9 feet wide by 3 feet deep by 3 feet tall.
Materials:
- (8) 4x4x4-foot PT posts for corner and intermediate supports
- (48 linear feet) 2×6 or 2×8 cedar or PT lumber for front and back walls
- (20 linear feet) 2×4 for framing the top rail
- (4) 1×6 cedar boards for removable front boards in each bay
- Hardware cloth optional for back and side walls if using loose posts rather than solid lumber
Assembly:
Set eight 4×4 posts as the structural framework: one at each of the six outer corners and two intermediate posts at the shared wall locations between bins. Posts should be set 18 inches in the ground in concrete or gravel for stability.
Frame horizontal 2×6 boards between posts on the back and sides to create solid walls. A gap of 2 to 3 inches between boards on the sides provides passive ventilation without structural compromise.
For the front of each bin, cut 1×6 boards to fit between the front posts with 1 to 2 inch of play on each side. These drop in from the top and stack to the desired height, creating a fully removable front. When you want to turn or remove the pile, pull the boards out from the top.
Turning with a three-bin system:
Week 1: Add material to Bin 1. Keep it moist and balanced.
When Bin 1 is full (typically 2 to 4 weeks): Fork everything from Bin 1 into Bin 2. This single turn aerates the pile, introduces oxygen throughout, and accelerates decomposition. The center of the old pile goes to the outside of the new pile and vice versa. Start a new pile in Bin 1.
When Bin 2 is ready (hot composting for 4 to 6 weeks): Move finished or nearly-finished material into Bin 3 for final curing. Continue cycling.
Bin 3 holds finished compost ready to apply to the garden on demand. When Bin 3 is empty, the cycle continues uninterrupted.
Optional hardware cloth additions: Line the sides and back of each bin with 1/2-inch hardware cloth inside the lumber framing to keep rodents from tunneling into the pile. This matters in areas with vole and mouse pressure.
Constructing a cover: A simple hinged lid on each bin from exterior plywood keeps rain from waterlogging the pile and retains heat in cold weather. The cover also keeps pests from foraging in the pile. A 4×3-foot sheet of exterior plywood, hinged at the back with exterior hinges, covers each bin independently.
Finishing and Maintenance for All Designs
Regardless of design, a compost pile requires:
A carbon-to-nitrogen ratio near 25:1 to 30:1. Carbon materials (brown materials: straw, cardboard, dry leaves, wood chips) should be added in roughly equal volume to nitrogen materials (green materials: kitchen scraps, fresh grass clippings, chicken manure, garden waste). A pile that smells bad has too much nitrogen. A pile that does not heat has too much carbon or is too dry.
Moisture at the level of a wrung-out sponge throughout the pile. A dry pile does not decompose quickly. A waterlogged pile goes anaerobic and smells.
Aeration through turning or passive air channels. The microbes that decompose compost aerobically need oxygen. Regular turning introduces oxygen and accelerates the process.
Recommended Materials
Welded wire mesh fencing for cylinder bin
4×4 pressure treated post 8-foot for the three-bin system supports.
Cedar 2×6 boards for bin walls
Compost thermometer for monitoring pile temperature to confirm you are reaching hot composting temperatures.
Compost turner aeration tool for easier pile turning.


