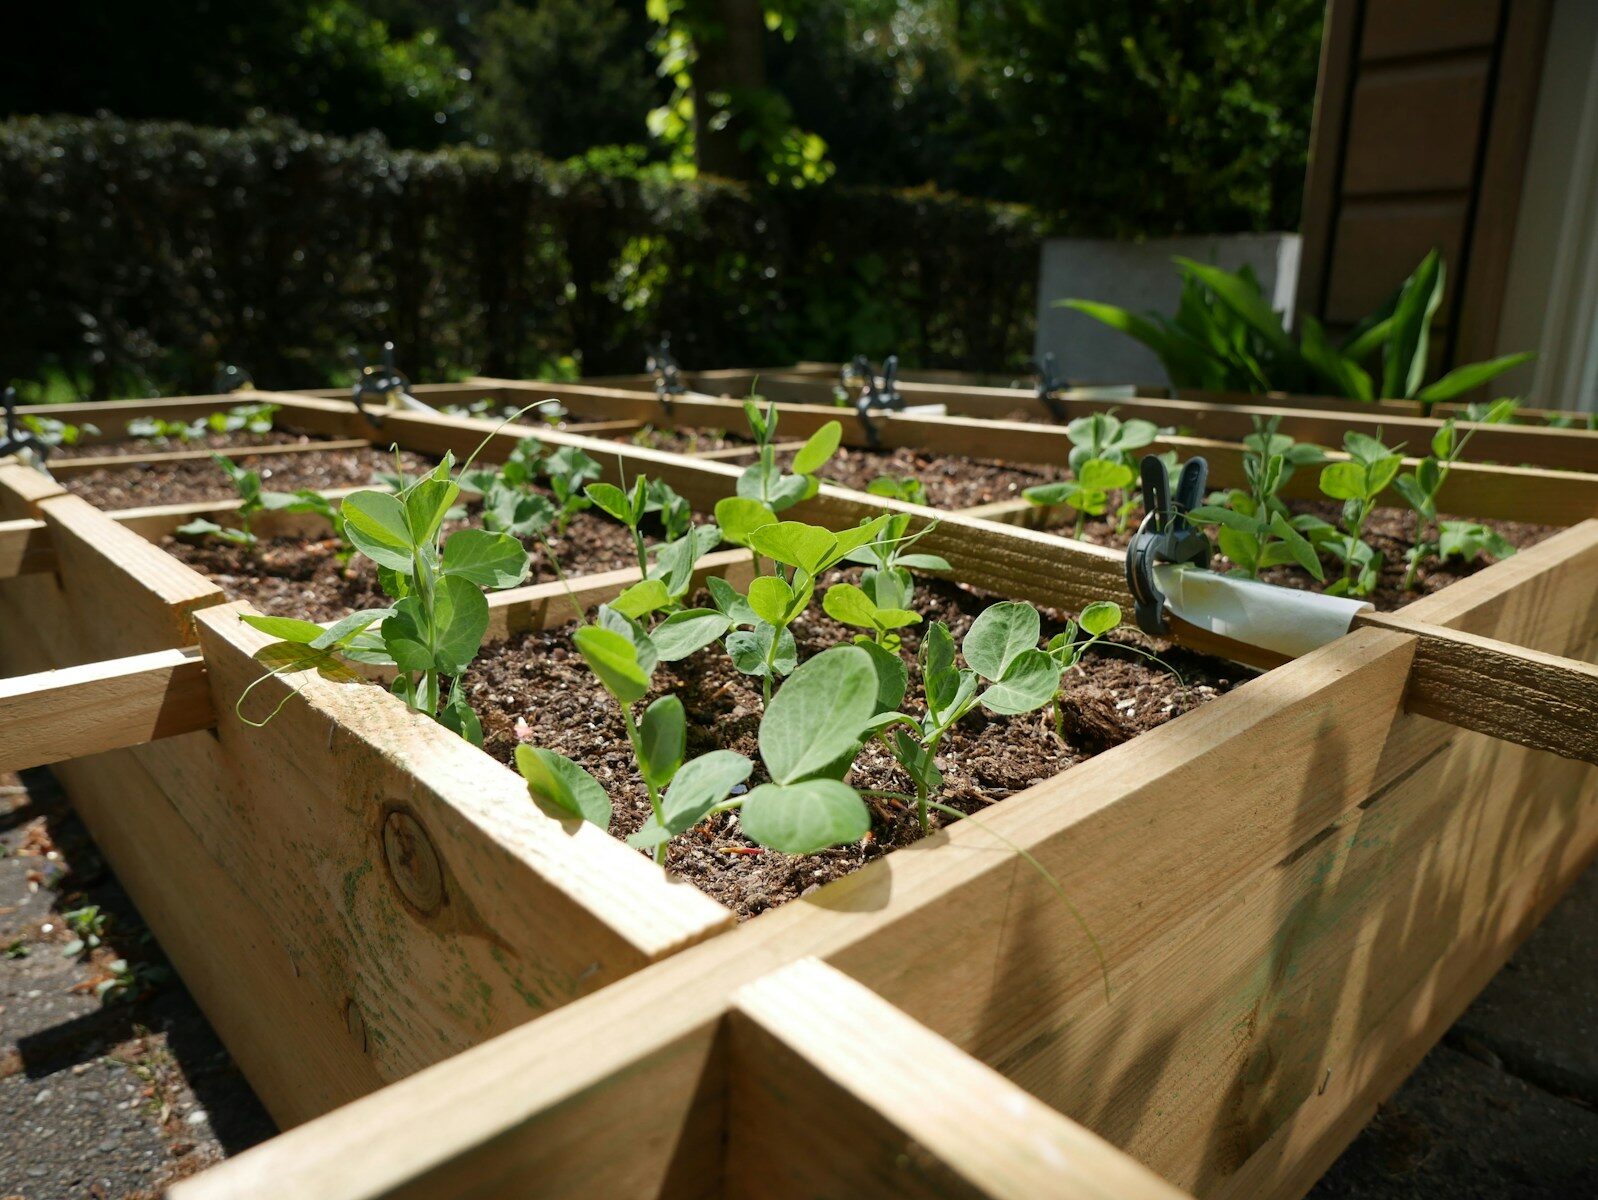
How to Build Raised Garden Beds: The Complete Step-by-Step Guide
A 4×8-foot raised garden bed built from 2×10 cedar takes about two hours to build and costs between $40 and $80 in materials depending on lumber prices in your area. It will outlast every prefabricated raised bed kit sold at garden centers, hold more soil, and give you precisely the dimensions, depth, and location you need rather than the approximate version a kit provides.
This guide builds the most practical raised bed configuration for a homestead: 4 feet wide (reachable from both sides without stepping in), 8 feet long, 10 inches deep (adequate for most vegetables without requiring an enormous volume of soil), built from cedar lumber that resists rot without chemical treatment.
Why 4×8 and Why Cedar
4 feet wide is the maximum you can reach from both sides without stepping into the bed. This matters because stepping into a raised bed compacts the soil, which defeats one of its primary purposes. A 4-foot width means you can reach any plant in the bed from either side.
8 feet long uses standard lumber lengths efficiently. A single 8-foot board becomes one full side of the bed. No waste, no cuts, no seams in the middle of a long board.
10 inches deep (two 2×10 boards stacked) provides enough depth for the root systems of most vegetables, including carrots, beets, and tomatoes. Shallow beds under 8 inches restrict deep-rooted vegetables. Beds over 12 inches use significantly more soil without proportional benefit for most crops.
Cedar resists rot through natural oils rather than chemical preservatives, making it the preferred choice for food garden beds where chemical leaching is a concern. It is lightweight, takes fasteners well, and holds up for 10 to 20 years in most climates. Western red cedar is the most widely available and most commonly used.
Alternatives to cedar:
Redwood performs identically to cedar and is preferred in western US markets where redwood is more available.
Pressure treated lumber (ACQ or CA rated for ground contact) lasts longer than cedar in wet climates. Many gardeners use a liner of landscape fabric or food-safe rubber membrane between PT lumber and soil as a precaution against copper compound contact with vegetable roots.
Black locust and Osage orange are extremely rot-resistant hardwoods available from some mills. They are heavy and dense but last 30 to 50 years outdoors without treatment.
Do not use railroad ties (creosote-treated and toxic near food), standard pine dimensional lumber (rots quickly without treatment), or any lumber that smells of chemical preservatives beyond standard PT treatment.
Materials List for One 4×8 Raised Bed
- (4) 2x10x8 cedar boards (or 2 boards per side, stacked)
- (4) 4x4x10-inch cedar corner posts (optional but makes assembly easier)
- (16) 3-inch exterior deck screws or 3-inch exterior galvanized nails
- Hardware cloth or weed barrier fabric for the bottom (optional)
That is the complete materials list. Four boards and some screws. The simplicity is one reason raised bed building is the right first project for beginning homestead woodworkers.
Tools Required
- Circular saw or handsaw (only needed if cutting corner posts to length)
- Drill-driver and appropriate bit for 3-inch screws
- Speed square
- Tape measure
- Pencil
- Work gloves
Cut List
For a 4×8 bed with stacked 2×10 boards:
| Piece | Dimension | Quantity |
|---|---|---|
| Long side boards | 2×10 at 96 inches (8 feet) | 4 (2 per side, stacked) |
| Short end boards | 2×10 at 45 inches | 4 (2 per end, stacked) |
| Corner posts | 4×4 at 10 inches | 4 |
Note on end board length: 45 inches allows the end boards to fit inside the long side boards, producing a 4-foot outside dimension on the short ends and an 8-foot outside dimension on the long sides. Some builders prefer 48-inch end boards that butt against the outside of the side boards. Both work; 45-inch cuts use lumber more efficiently.
Assembly Method 1: Corner Post Assembly (Recommended for Beginners)
Corner post assembly uses short lengths of 4×4 as internal corner blocks, making alignment straightforward and producing a very strong joint.
Step 1: Cut your 4×4 posts to 10 inches each (or the height of your stacked boards).
Step 2: Stand the first long side board on edge. Clamp or hold a corner post flush with the end of the board. Drive two 3-inch exterior screws through the side board into the post. Repeat at the other end of the board.
Step 3: Attach the second long side board below the first, flush with the bottom of the corner posts. This creates a 20-inch tall side panel.
Step 4: Repeat for the other long side.
Step 5: Stand both long side assemblies up on their edges, parallel to each other, 45 inches apart. Drop the short end boards between them, flush against the corner posts. Drive screws through the end boards into the posts.
Step 6: Set the assembled bed on its location, check for level, and adjust by digging under the low corners or adding shims as needed.
Assembly Method 2: Screw-Through-Corners (Faster but Requires More Precision)
Without corner posts, boards are fastened by driving screws through one board into the end grain of the perpendicular board.
Step 1: Lay out all boards. Position the first long side board and the first short end board at 90 degrees, with the end board butting against the end of the long board.
Step 2: Check square with a speed square or by measuring diagonally (equal diagonal measurements = square box).
Step 3: Drive two 3-inch screws through the face of the long side board into the end grain of the short board at each corner. End grain screw connections are not as strong as face grain connections, which is why corner posts are the preferred method for beds that will be under significant lateral soil pressure.
Step 4: Stack the second course of boards, offset the joints from the first course (like brick laying), and fasten.
Siting and Level
Choose a location that receives at least 6 hours of direct sunlight for most vegetables, with full sun preferred for tomatoes, peppers, and squash.
Before placing the bed, remove any sod or aggressive perennial weeds from the site. They will grow up through the bed’s soil if left.
A bed does not need to be perfectly level, but it should not be so uneven that water pools at one end. A 1 to 2-inch variation end to end is acceptable. More than that causes uneven watering and growth.
What to Put on the Bottom of the Bed
The bottom of a raised bed can be open soil, lined with hardware cloth, or lined with landscape fabric. Each choice has tradeoffs.
Open soil (no liner): Weed roots from below can work their way up, but earthworms from the native soil below can work their way in. In areas with aggressive rhizomatous weeds (bindweed, bermuda grass, quackgrass), open-bottom beds become infested over time.
Hardware cloth liner: 1/2-inch hardware cloth across the bottom of the bed excludes moles and voles that dig up from below and eat root vegetables from underneath. Worth using in areas where vole pressure is high.
Landscape fabric liner: Suppresses weeds coming up from below. Water-permeable fabric allows drainage. Impermeable materials prevent drainage and should not be used. Landscape fabric breaks down over several years and may need replacement.
Filling the Bed: The Soil Mix That Works
This is where many new raised bed builders go wrong by filling with native soil or a single-ingredient amendment. The soil in a raised bed does not compact under foot traffic and degrades naturally over time, so the starting mix matters significantly for how the bed performs in the first several years.
A well-established formula used by experienced raised bed gardeners:
- 60 percent topsoil or quality garden soil
- 30 percent compost (finished, from worm castings, chicken manure compost, or commercial sources)
- 10 percent coarse perlite or vermiculite for drainage
For a 4×8 bed at 10-inch depth: volume is approximately 26.7 cubic feet, which is just under 1 cubic yard. Order 1 cubic yard of a blended bed mix from a landscape supply company, or purchase bagged materials and blend them.
If you have worm castings from a homestead vermicomposting operation, replacing a portion of the compost component with castings improves germination rates measurably and reduces the incidence of damping-off fungal disease in seedlings.
Building Multiple Beds Efficiently
Once you have built the first bed and the process is familiar, each subsequent bed takes significantly less time. After building 10 to 15 beds, experienced homesteaders can complete a 4×8 bed in 45 to 60 minutes from cutting to placement.
Setting up an assembly line process for multiple beds: cut all boards for all beds before assembly, group fasteners and tools at a single work area, and move through the assembly steps for all beds in sequence. Five beds built assembly-line style take roughly the same total time as three beds built individually with setup between each.
Recommended Materials
Cedar 2×10 board 8-foot lengths from your local lumber yard or home center.
3-inch exterior deck screws 1-pound box for corner assembly.
Hardware cloth 1/2-inch for bed bottom liner for vole exclusion.
Raised bed soil mix bagged for filling.
Garden fabric weed barrier roll for the bottom liner option.
See our full homestead building series: homestead woodworking guide, DIY compost bin plans, and how to fill your new beds with worm castings from your homestead.
— Last updated: June 2026.