How to Build a Small Homestead Workshop: Planning and Building Your Work Space
Working without a dedicated workspace costs more time than most homesteaders realize. Setting up and breaking down tools in the driveway, storing equipment in spaces it shares with other things, working in the rain because there is no shelter, working without good lighting because there is no electricity, all of these friction points compound across a season of projects into a meaningful efficiency loss.
A dedicated workshop does not need to be large or elaborate. A 10×12-foot lean-to shed with a workbench, a few wall outlets, and good lighting changes the pace of homestead building work significantly. This guide covers how to plan the right-sized space, what basic infrastructure a functional shop needs, and the layout decisions that make small shops work well.
How Much Space Do You Actually Need
The minimum functional homestead workshop is approximately 10×10 feet. This provides enough floor space for a workbench along one wall, tool storage on a second wall, and a working area in the center large enough to move a 4×8 sheet of plywood through a circular saw cut.
A 10×12-foot footprint adds meaningful additional floor space with minimal additional material cost. The 12-foot dimension accommodates a full 8-foot board laid on the workbench with the doors closed.
A 12×16-foot space is comfortable for a homestead workshop: room for a stationary tool (table saw or miter saw on a stand), a full-width workbench, tool storage on two walls, and a clear central work area. This size handles most homestead project work without feeling cramped.
Beyond 16 feet in one dimension, you are building a garage rather than a workshop. The infrastructure cost increases significantly. Unless you have specific plans that require the space, a 12×16 is the practical ceiling for most homestead workshops.
Lean-To vs Standalone Structure
Lean-to attached to an existing structure is the fastest and least expensive workshop option. A lean-to uses the existing wall of a barn, garage, or house as one wall of the new structure. It requires one fewer wall of framing and can share utilities (electricity, possibly water) with the main structure through a shared wall.
A lean-to 10 feet wide and 12 feet deep attached to the side of an existing barn takes a weekend to frame, sheath, and roof, and provides substantial usable shop space at low cost.
Limitations: the attached wall direction determines the shed’s orientation, which determines the placement of doors and windows. You cannot always put the door and the natural light sources exactly where you want them when one wall is already determined.
Standalone structure can be oriented to optimize light, door placement, and the relationship to other homestead infrastructure. You choose where the door faces, which walls get windows, and how the structure sits relative to your primary work and travel paths.
A standalone 10×12-foot structure requires a concrete foundation (simple perimeter blocks work), four walls of framing, and a complete roof. More material, more labor, but complete design control.
Foundation Options for a Small Workshop
Concrete block piers: Solid concrete blocks set at the four corners and at midspan of each long wall on solid, compacted ground. No concrete work required, inexpensive, and the structure can be moved if needed. Adequate for a structure up to 12×16 feet in most conditions.
Gravel pad with PT skids: A 4-inch compacted gravel pad, with two 4×6 pressure treated skids running the length of the structure, provides a stable, well-drained base. This is the most common foundation for homestead outbuildings because it is fast to prepare, requires no concrete, and drains well.
Concrete perimeter foundation: A poured or block concrete foundation is the most permanent option and is appropriate in areas with high frost, heavy soils, or where local codes require a permanent foundation. More labor and cost upfront, but produces the most stable structure long-term.
Framing a Basic Workshop Structure
Standard stud-wall framing (2×4 studs at 16 inches on center) handles a workshop structure of any size discussed here. The same principles that apply to chicken coop framing apply at larger scale.
Wall height: A minimum of 8 feet of interior ceiling height is practical for a workshop. Lower ceilings make moving long boards awkward and feel oppressive. An 8-foot wall with a roof that rises to 10 to 12 feet at the center or peak is comfortable.
Door placement: Plan the main door on the wall that faces your primary access path from the rest of the homestead. A double door (two 36-inch doors) allows moving full sheets of plywood and long boards in and out without angling. Wide single doors work but are less convenient.
Window placement for light: A north-facing window provides consistent, non-glare diffuse light that is better for detailed work than direct east or west sunlight. South-facing windows add solar gain in winter, useful in cold climates. For most workshops, two or three windows on different walls provide adequate light and cross-ventilation when open.
Electrical: Plan electrical at the framing stage. It is far easier to run conduit or wire through walls before sheathing than after. A minimum useful electrical setup for a workshop: one 20-amp circuit with two duplex outlets on each working wall, one 240-volt outlet for a table saw if planned, and adequate lighting circuits. Contract with a licensed electrician for any electrical work that requires permits.
Workbench Design and Placement
The workbench is the most important fixed element in a small shop. Build it to run along the full length of one wall: an 8 to 12-foot workbench surface provides enough room to support a full 8-foot board, use a bench-top drill press or miter saw at one end, and have the other end available for vise work simultaneously.
Workbench height: The working surface should be at a height where your palms rest flat on the surface with your arms hanging naturally at your sides. For most adults this is 34 to 36 inches. A bench that is too low causes back strain over extended sessions. A bench that is too high tires the shoulders.
Workbench construction: A simple and durable workbench uses 2×4 framing for legs and rails and a double layer of 3/4-inch plywood (glued and screwed together) for the top surface. This produces a 1.5-inch thick, extremely flat and stable work surface.
Vise: A face vise (mounted on the left front corner of the bench for right-handed users) holds work for hand planing, sawing, and any operation requiring the work to be held at the bench edge. A simple wooden leg vise costs $40 to $80. A cast iron quick-release vise is the standard commercial option and runs $60 to $150.
Tool Layout Principles for Small Shops
In a small workshop, the relationship between tools matters as much as which tools you own. Efficient layout means lumber flows from storage to cut to assembly without crossing its own path.
The basic flow: Raw lumber storage at one end of the shop. Cutting tools (table saw or miter saw with circular saw) in the center. Workbench for assembly at the opposite end. Exit door positioned so a finished project can move out without crossing the workspace.
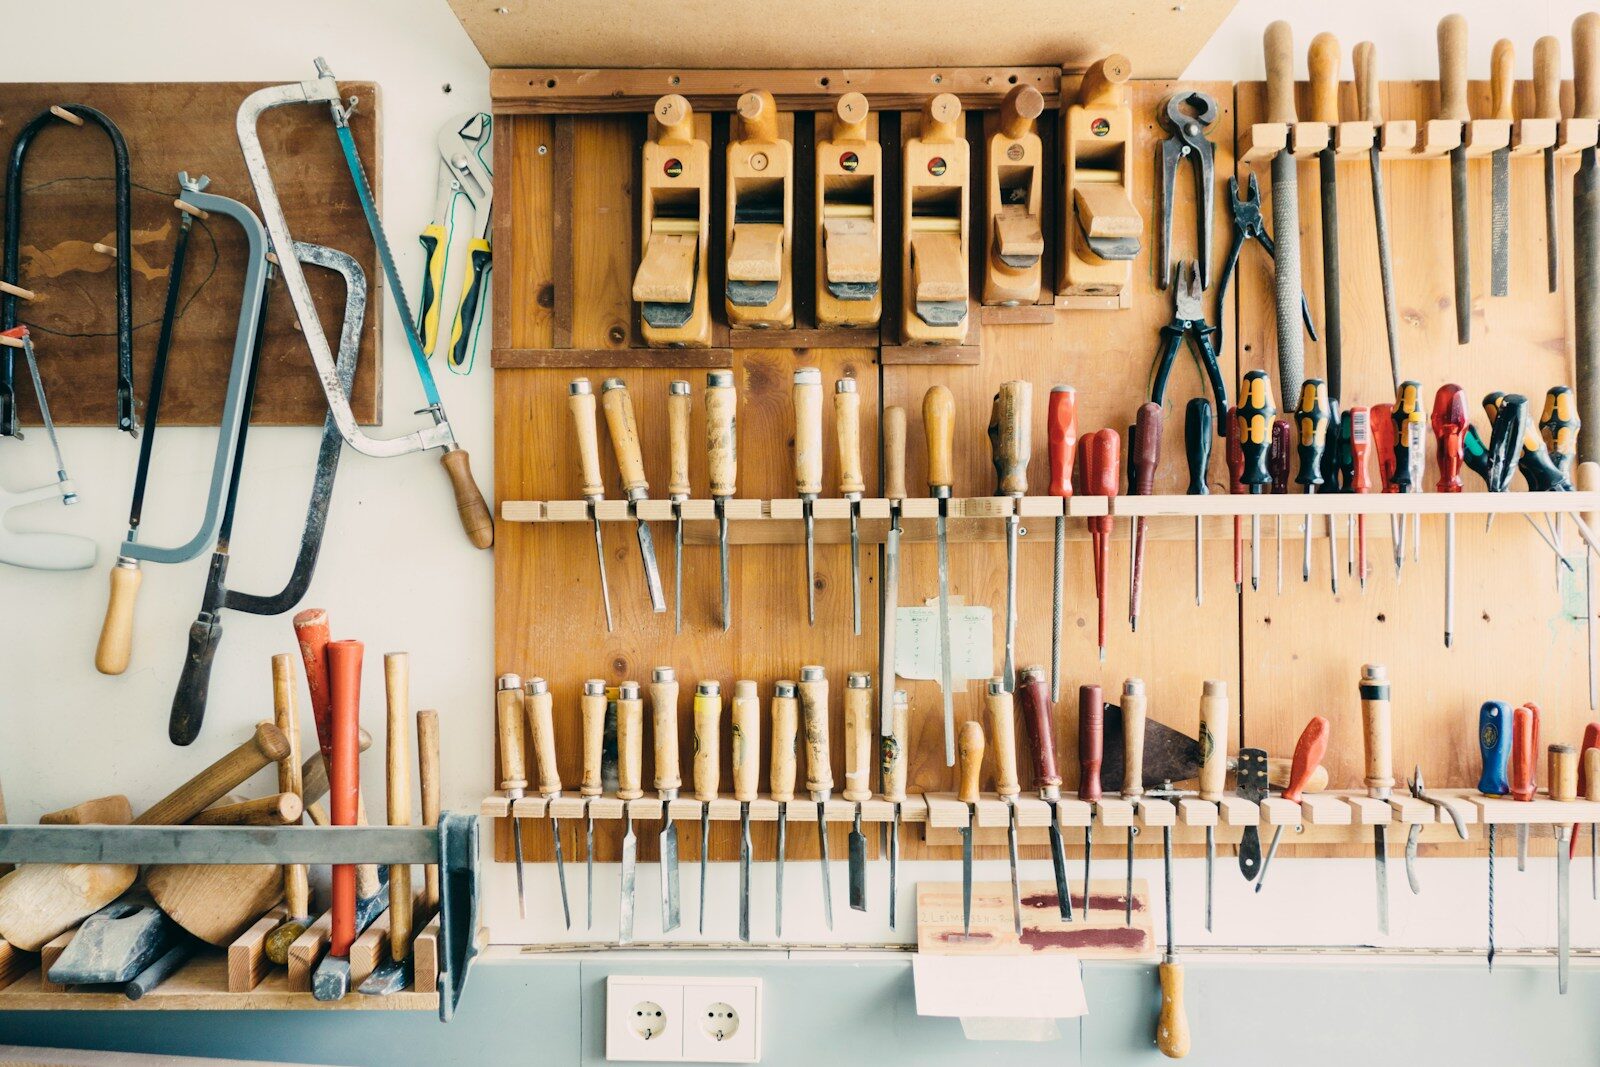
Wall storage for hand tools and accessories: Every hand tool and accessory that occupies a horizontal surface in a small shop reduces your usable working area. Install tool holders, wall-mounted organizers, and shelving to move everything off the floor and bench surface.
Dust management: Sawdust is both a fire hazard and a health hazard in an enclosed shop. A shop vacuum with appropriate filtration, positioned near the primary cutting tools, is minimum dust management. A dust collection system is worth adding once stationary tools are installed.
Lighting for a Functional Shop
Inadequate lighting is the most commonly underestimated shop infrastructure problem. A shop that is adequately lit for general visibility is not adequately lit for safe, accurate work.
Minimum standard: 50 to 70 foot-candles of illumination at work surface level. This requires more lighting than a typical outbuilding provides with a single overhead fixture.
LED shop lights in 4-foot or 8-foot lengths provide excellent illumination at low energy cost and long service life. Mount them directly above the primary work areas: over the workbench, over the cutting tool location, and in the center of the shop to fill ambient light.
Task lighting at the workbench is worth adding even if general shop lighting is good. A swing-arm light or dedicated under-cabinet LED strip at the workbench illuminates detailed work without casting shadows from your own body.
LED shop light 4-foot linkable
Workbench LED under cabinet light
Heating and Ventilation
A workshop in a climate where winter temperatures drop below 40 degrees Fahrenheit benefits from heating: not for the worker’s comfort alone but because glues, finishes, and some materials perform poorly below 50 degrees, and because a heated shop allows year-round project work.
A small propane or electric heater adequate for a 120 to 200-square-foot space runs $40 to $150 to purchase and the operating cost is minimal for the hours a small shop is typically in use.
Ventilation during work that generates sawdust, finish fumes, or staining is important for both health and fire safety. Cross-ventilation from opposing windows is adequate for most homestead shop work. If you use solvent-based finishes, a dedicated exhaust fan is important.
Wall-mount propane garage heater for heating a small workshop space.
See our full homestead woodworking series: homestead woodworking beginners guide, essential power tools for homesteaders, and best circular saw for beginners.