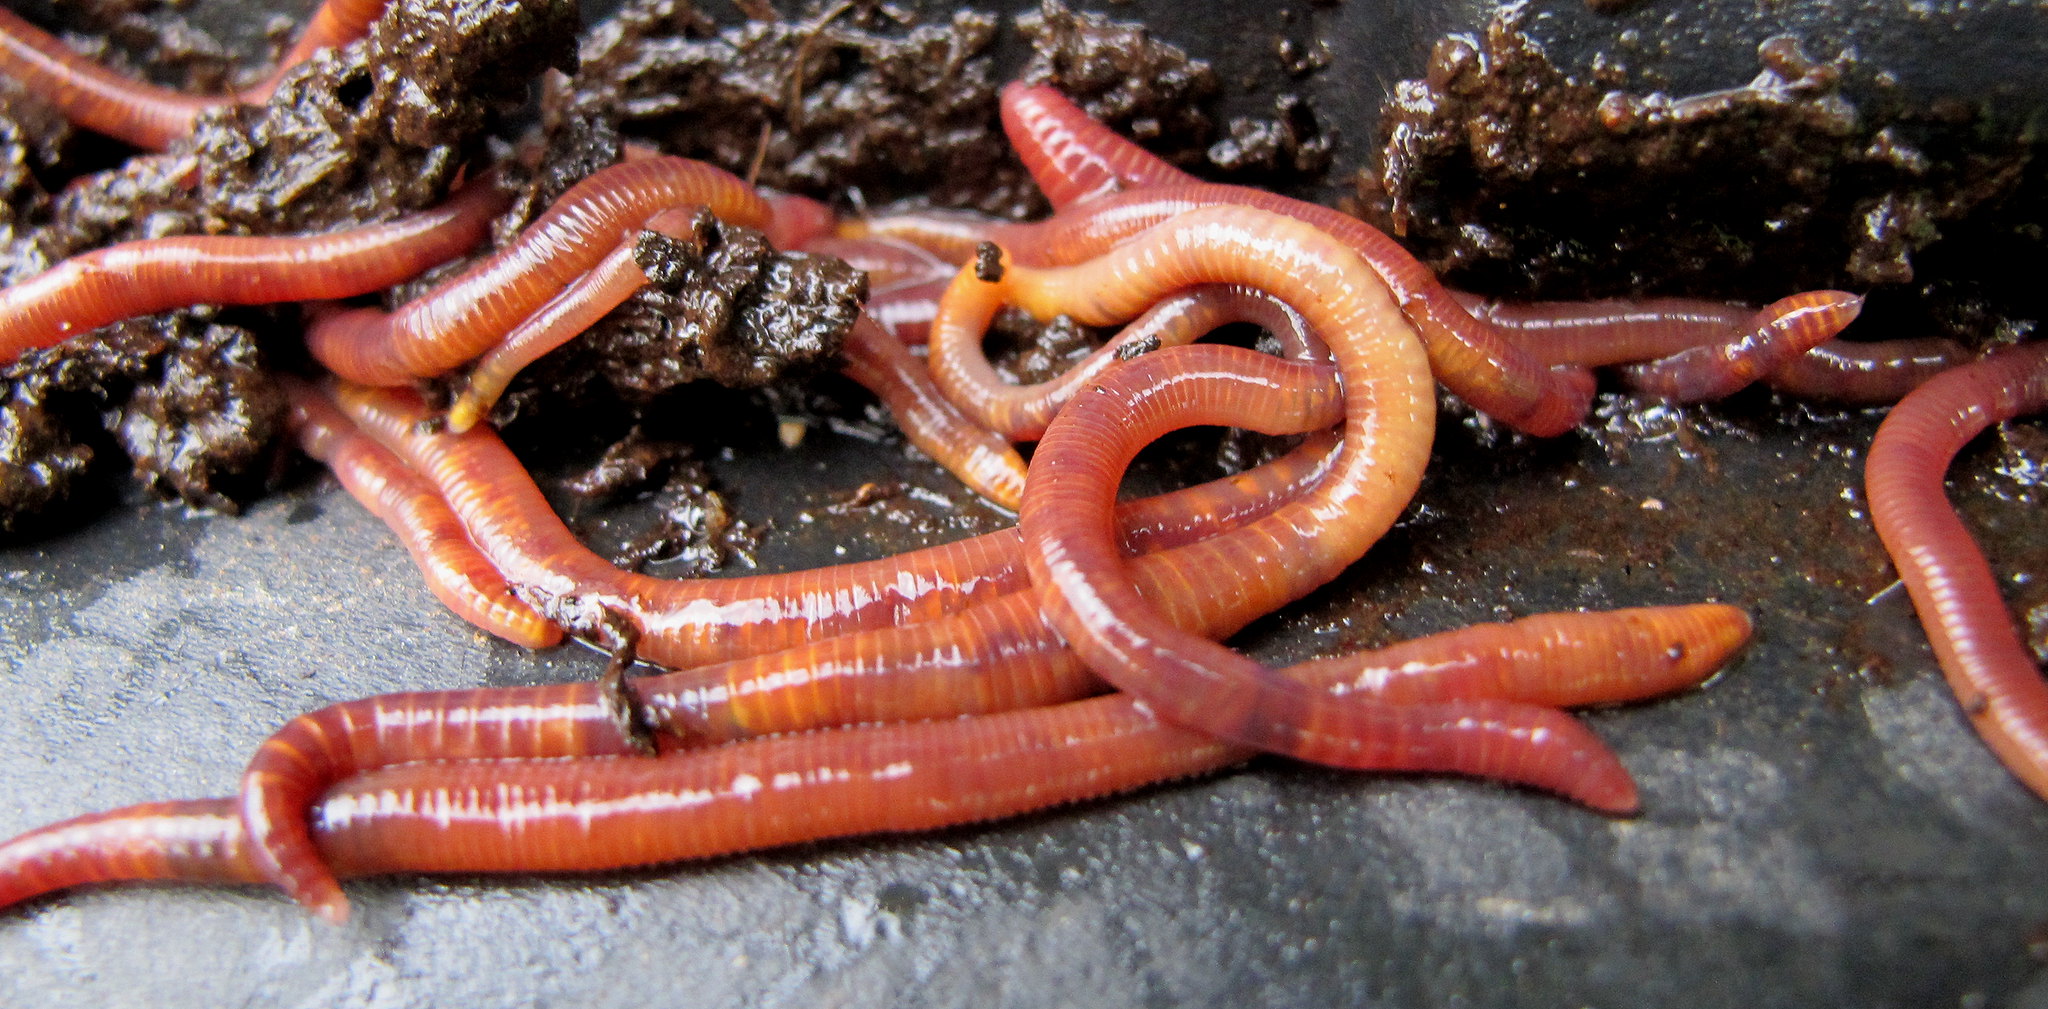
Using Worm Castings in the Vegetable Garden: How Much, When, and Where
Worm castings work differently from most garden amendments. They will not burn plants even in high concentrations. They improve soil biology for months after a single application. They measurably increase germination rates and early root development in controlled trials. And unlike synthetic fertilizers, they feed the soil food web rather than bypassing it.
The challenge for most home producers is having enough of them. Here is how to get the most from whatever quantity you produce, with specific application methods and rates.
What Worm Castings Do in Soil
Before covering application methods, it helps to understand what you are adding when you apply castings, because it informs how and where to use them most effectively.
Worm castings are not primarily a fertilizer, though they do contain plant-available nitrogen, phosphorus, and potassium. They are primarily a biological amendment. The microbial community in fresh castings includes nitrogen-fixing bacteria, phosphate-solubilizing bacteria, beneficial fungi, and predatory nematodes that suppress soil-borne plant diseases.
This biological component is what makes castings different from conventional compost and why research consistently shows effects that cannot be explained by nutrient content alone. Studies from Ohio State University and Cornell found that worm castings suppress Pythium and Rhizoctonia, two of the most common causes of damping off in seedlings, more effectively than any chemical fungicide tested in comparable trials.
Fresh castings retain this biological activity for six to eight weeks after harvest, then gradually shift to a nutrient contribution as the biological community disperses and integrates into the surrounding soil. This means freshness matters. Castings you apply in spring from a winter harvest are still active. Castings that have been stored in sealed plastic bags for six months are more nutrient amendment than biological amendment.
Application Rate Guidelines
The question most gardeners ask is how much to use. The answer varies by application method, but these rates produce consistent results in vegetable gardens:
Seed starting mix: Replace 20 to 25 percent of your starting mix volume with castings. At this ratio, germination rates improve measurably and damping off, the fungal disease that kills seedlings at soil level, is largely eliminated in most soils. Going above 25 to 30 percent in a seed starting mix does not add further benefit.
Transplant hole: Add two to four tablespoons of castings to the hole before setting a transplant. Mix with the existing soil. This places the biological activity directly at the developing root zone.
Top dressing established plants: Spread a quarter to half inch of castings around the base of established vegetables, herbs, or perennials and water in. This is effective throughout the growing season and can be repeated every four to six weeks.
Raised beds: Incorporate two to four inches of castings into the top six inches of bed soil before planting. At this rate, castings function similarly to compost as a soil conditioner while also providing biological input.
Container plants: Add 10 to 20 percent castings by volume when filling containers. Refresh the top inch or two each season.
Where to Use Castings for Maximum Effect
Because most homestead producers have limited supply, applying castings where they have the most impact matters more than spreading them evenly across the entire garden.
The highest-return places to apply castings:
Seed starting flats and cell packs. Germination is the stage where seedling losses are highest and where the biological protection from castings most directly prevents loss. A small amount of castings in the seed starting mix protects dozens of seedlings.
Transplant holes for high-value crops. Tomatoes, peppers, squash, melons, and other crops that take weeks to mature are your most valuable garden investments. Applying castings at transplanting gives them the best possible root environment when root establishment is most critical.
Problem areas. If you have a bed or area that consistently produces poor results, disease problems, or compacted soil, a heavier casting application can reset the soil biology more effectively than any other single amendment.
The next season’s planting area. Applying castings to a garden bed in fall, before it is planted in spring, gives the biological community time to integrate into the soil and build a diverse, active microbial ecosystem before the first seed goes in.
Worm Casting Tea as an Extender
When casting supply is limited, brewing casting tea from a portion of your harvest and applying the tea across more of the garden extends the biological benefit considerably. One cup of castings brewed into a gallon of aerated tea and applied as a soil drench covers four to eight times the area that the castings would cover when applied directly.
This is particularly useful for top-dressing applications where you want to maintain soil biology across a large bed but do not have enough castings to apply directly at a useful rate.
See our complete guide to making worm casting tea for the exact brewing method and application instructions.
Timing Applications Through the Season
Before planting: Incorporate castings into the bed or area being prepared. Tilling or forking them into the top few inches allows the biological community to integrate before seeds or transplants go in.
At transplanting: Apply to the planting hole as described above.
Midseason top dressing: Apply castings around heavy-feeding crops like tomatoes, peppers, squash, and corn at six to eight week intervals. Water in after application.
Fall application: Applying castings to cleared beds in fall sets up beneficial biology through the winter and makes spring planting into highly active soil.
Castings Versus Compost: How to Think About Each
Both are valuable and serve somewhat different purposes. Traditional finished compost is best used as a bulk soil amendment in large quantities to build organic matter, improve drainage in clay soils, and add water retention in sandy soils. It works primarily through nutrient contribution and organic matter.
Worm castings are most valuable in smaller, targeted quantities for their biological content, their effect on germination and root development, and their disease suppression capacity. They are not a substitute for compost in bulk terms; a garden that needs four cubic yards of organic matter per bed cannot be adequately served by a few pounds of castings.
The most effective approach for most homesteaders is to use traditional compost as the primary bulk amendment and reserve worm castings for seed starting, transplant holes, and top-dressing high-value crops.
Storing Worm Castings
If you harvest more castings than you can use immediately, storage is straightforward. Place castings in a container that allows some air exchange, not a sealed airtight bag. A loosely tied burlap sack, a breathable cloth bag, or a container with ventilation holes works better than a sealed plastic bucket.
Keep stored castings slightly moist. Bone dry castings lose biological activity more quickly. Very wet castings develop anaerobic zones and can mold. The right moisture level is the wrung-out sponge feel: damp throughout but not dripping.
Stored correctly, castings retain significant biological activity for three to four months. After that, they still provide nutritional value but the live microbial population has integrated into the storage medium and is no longer the concentrated biological amendment that fresh castings represent.
For more on producing castings efficiently, see our vermicomposting beginners guide and our guide to harvesting worm castings.
— Last updated: June 2026. We apply worm castings from our homestead bins to our vegetable garden throughout the growing season.

